Basic usage
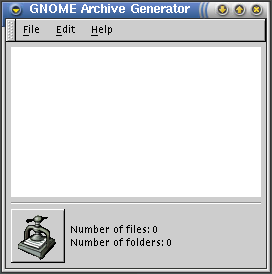
Starting GNOME Archive Generator opens the Main window, shown in . The window is at first empty.
Drag and drop icons for the files or directories you would like to archive from your file manager to the GNOME Archive Generator main window. Icons representing them will appear in the main window.

 | GNOME Archive Generator works on copies of your files and directories. The originals will remain in their original location. |
To make the archive, chose Create archive from the File menu. A standard file selection dialogue will open. Use it to choose the location in which you would like to save the new archive file. Enter a name for the archive file and click OK. GNOME Archive Generator will create a tar file compressed with gzip.
| GNOME Archive Generator places no restrictions on the file name you choose. Most applications expect compressed names of compressed archive files to end in .tar.gz. |
Menus
The menu bar, located at the top of the Main Window, contains the following menus:
- File
-
This menu contains:
-
+ + + + + + + ->Create archive+ + + + + + + + Create an archive
-
+ + + + + + + + + + + + + + + + ->Exit+ + + + + + + ( Ctrl-Q ) This quits the application.
-
- Edit
-
This menu contains:
-
+ + + + + + + + + + + + + + + ->Remove+ + + + + + + This removes any highlight file or directory from the main window. It does not remove the original file, only the copy being used by GNOME Archive Generator.
-
+ + + + + + + + + + + + + + + ->Clear+ + + + + + + This clears all files or directories from the main window.
-
+ + + + + + + + + + + + + + + + ->Select All+ + + + + + + This selects all files and directories in the main window.
-
- Help
-
This menu contains:
-
Manual This opens the designated Help Browser and displays this manual.
-
About This opens the About dialog which shows basic information about GNOME Archive Generator, such as the author's name, the application version number.
-